

Maximizing Design Flexibility: Enhancing Your Workflow with Adaptive Components in Rhino.Inside
- Nandita Tigga
- Mar 16
- 2 min read

Hello everyone! I hope this New Year is off to a fantastic start. With 2025 in full swing, many of us are diving into new tools and workflows to push the boundaries of design. What new techniques or software are you exploring this year? I’d love to hear from you.
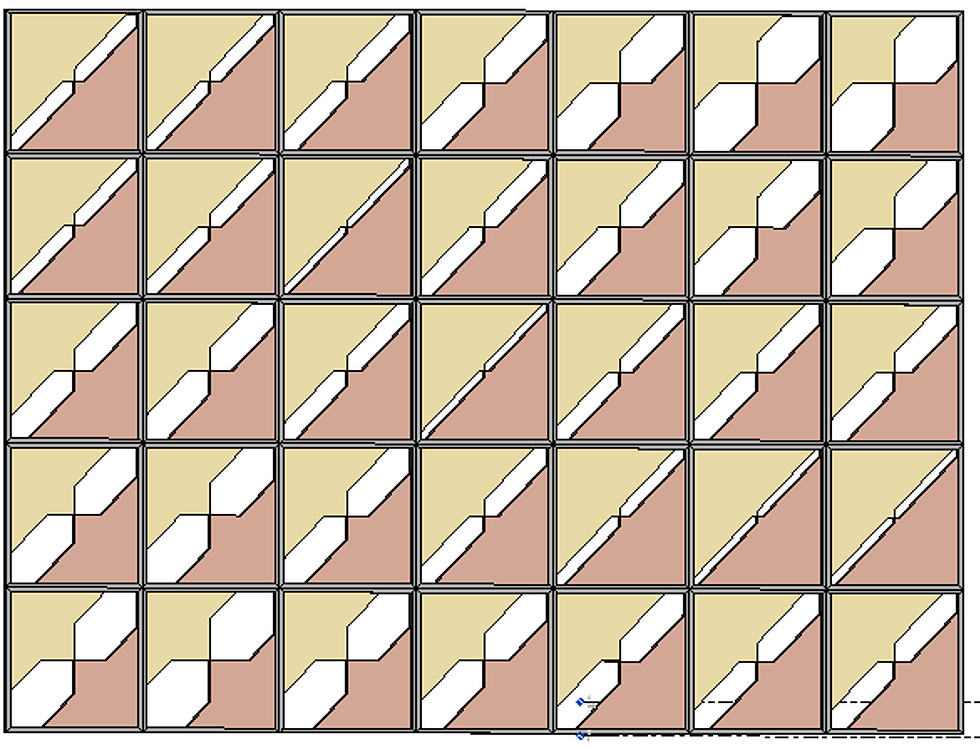
Recently, I attended an insightful PA Academy workshop on "Dynamic façade workflows using Rhino.Inside.Revit". The session introduced powerful techniques for integrating computational design with Revit, enhancing flexibility in façade design. One of the key takeaways was learning how to use the Parakeet plug-in in Grasshopper to generate dynamic patterns and apply them to adaptive façade panels with controlled apertures.
Exploring Pattern-Based Adaptive Components
One of the most exciting aspects of the workshop was working with Parakeet, a plug-in that offers a wide range of geometric patterns. These patterns can be used as a design basis for various architectural elements, including façades, screens, and perforated panels.
Steps in the Workflow:
1. Choosing a Pattern: I selected a pattern from Parakeet with an interesting rhythmic variation.

2. Creating an Adaptive Component: The pattern was used to generate a 4-point adaptive component in Revit.

3. Adding Aperture Control: I introduced an adjustable parameter to control the opening sizes, allowing for dynamic modifications.

4. Using a Curve Attractor: The opening sizes were influenced by a curve attractor, meaning that the apertures dynamically adjust based on proximity to a guiding curve.

5. Integrating with Rhino.Inside.Revit: By linking Rhino and Revit, I used element parameters to control and modify the façade design seamlessly.
Why is this workflow useful?
Flexibility: The ability to dynamically control apertures allows designers to adjust for light, ventilation, and aesthetics.
Parametric Efficiency: Using attractors and parameters ensures that design modifications can be made instantly without manual adjustments.
Seamless Integration: With Rhino.Inside, computational design directly influences Revit models, making it easier to incorporate complex geometries into BIM workflows.

What’s Next?
This experiment opened up a lot of possibilities for designing adaptive façade systems. I’m curious—how have you explored Rhino.Inside.Revit and plug-ins like Parakeet? Have you used parametric patterns in your designs? Let’s discuss and exchange ideas!
Looking forward to your insights and experiences!


Comments